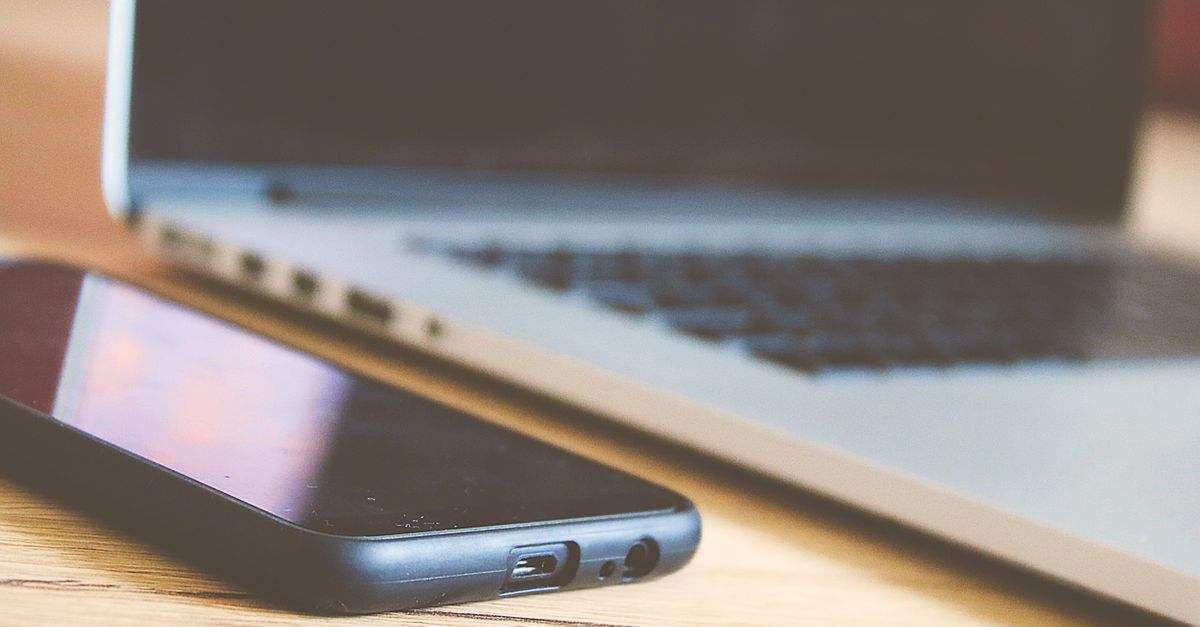
Clean a thrifted electronic item by starting with safety. Unplug it, remove batteries if you can, and inspect for cracks, corrosion, swelling, frayed cords, liquid damage, and burnt smells. Dry-dust it before any wet cleaning. Use the least moisture possible, keep liquid out of openings, and let the item dry completely before you test it. If you see signs of serious damage, stop cleaning and treat it as a repair-or-discard decision instead of a cleaning job.
Before you start: unplug, remove batteries, and inspect for damage
- Disconnect every power source you can reach before you clean anything.
Unplug the cord. Remove disposable batteries. Take out removable battery packs only if the design makes that easy and safe. If a battery is swollen, stuck, or leaking, do not force it out.
- Inspect the whole item before you add any moisture.
Check the case, cord, plug, battery compartment, seams, vents, and any port or opening. Stop and set the item aside if you see cracked plastic, swelling, green or white crust in the battery area, exposed wire, scorch marks, liquid inside the case, or a burnt odor. Cleaning can make a hidden problem worse if liquid gets into a damaged unit.
What to use, and what to skip
- Gather simple supplies that let you control moisture.
Use a soft brush, microfiber cloth, cotton swabs, compressed air in short bursts, and a small amount of isopropyl alcohol on a cloth for many hard plastic surfaces. A mild dish-soap mix on a barely damp cloth can help with greasy plastic housings if you keep it away from openings.
- Skip tools and cleaners that push liquid into the device or scratch the finish.
Do not soak the item, run it under water, or spray cleaner directly onto it. Avoid abrasive pads, paper towels that shed grit, bleach, ammonia cleaners, and harsh solvents. Be careful with alcohol. It works on many hard plastics and for sticky residue, but it can haze some finishes or damage delicate coatings. Test a hidden spot first if the surface is unfamiliar.
Step 1: remove loose dust and debris first
- Dry-dust the item before any wet cleaning.
Wipe the outside with a dry microfiber cloth. Then use a soft brush to lift dust from textured plastic, vents, button edges, and corners. Dry-dusting first keeps you from grinding grit into the surface.
If you use a vacuum, keep the suction low and hold the nozzle back from the device. You want to lift loose debris, not tug at labels, mesh, loose trim, or tiny parts. A thrifted item often looks dusty on top but hides dirt in seams, so slow passes work better than one hard scrub.
Step 2: clean the case, buttons, remotes, and cords
- Wipe plastic cases in small sections with barely damp cloths.
Dampen a microfiber cloth lightly, not the device itself. Wipe one section at a time. Dry that area with a clean cloth before moving on. For sticky fingerprints and general grime, a small amount of isopropyl alcohol on the cloth usually helps because it evaporates quickly.
- Clean buttons and remotes without flooding the gaps.
Press the cloth around the controls rather than over them. Use a cotton swab around button edges, seams, and lip lines, but keep it only slightly damp. If residue sits in the edges of buttons, repeat a light wipe instead of adding more liquid.
- Clean cords from end to end and inspect them as you go.
Wipe along the jacket from one end to the other, then check the plug and strain relief for cuts, kinks, soft spots, or brittle areas. If the cord feels sticky, wipe it again with a barely damp cloth and dry it right away instead of scrubbing harder. Heavy moisture near switches, seams, or cable ends is one of the easiest ways to create a new problem after a simple cleaning job.
Step 3: clean seams, vents, ports, and tight crevices
- Use a brush, compressed air, and swabs for the places that trap dirt.
Angle the item so debris falls out instead of deeper inside. Use short air bursts rather than a long blast. Brush gently first, then use a dry or very lightly damp swab only on the outer edge of a port or opening, not deep inside it.
Change the angle often, because dirt hides along vent slots and the walls of ports. If a swab comes out black or sheds fibers, stop and switch to a cleaner one. The goal is to remove debris, not pack it tighter.
Step 4: clean screens and display faces without damage
- Treat screens as the most delicate surface.
Start with a dry microfiber cloth and wipe in straight, gentle passes. If smudges remain, slightly dampen the cloth with water or the smallest amount of screen-safe cleaner you already know is appropriate for that surface. Wipe again and dry immediately.
Do not spray liquid onto the screen, and do not use paper towels, abrasive pads, or strong solvent cleaners. If the display has a coating, matte finish, or older plastic lens, treat it as delicate and use the least aggressive method that works. If you are unsure about the screen type, stay with a dry cloth first and use only the mildest damp wipe on the outer surface when needed.
Step 5: battery compartments, removable parts, and odor
- Clean the battery compartment carefully and stop if corrosion looks severe.
Open the compartment and look for crust, powder, or staining around the contacts. If the residue is light and the metal is still intact, wipe the area with a dry cotton swab or a swab barely dampened with isopropyl alcohol. Let it dry fully before reinstalling batteries.
If a battery has leaked, swollen, or stuck itself in place, stop before forcing it. That is not just dirt. If corrosion has eaten into the contacts or the battery area looks badly damaged, the item may need repair or discard rather than cleaning.
- Clean removable parts separately when you can.
Trays, covers, and back plates can usually be cleaned with the same light wipe-and-dry method. That keeps liquid away from the main body.
- Air out mild odor after cleaning.
Let the item sit in a dry, ventilated place after cleaning. A little odor can come from storage, dust, or old plastic. A sharp chemical smell, sour battery smell, or burnt odor points to deeper trouble, not just grime.
Step 6: dry fully, then do a careful first test
- Let the item dry completely before you test it.
Leave it open and dry in a room with good air movement. There is no single safe drying time for every device, because it depends on the item, how wet it got, and how many openings it has. Remotes, speakers, game controllers, and anything with vents or ports usually deserve extra drying time because moisture can hide inside.
When the outside is dry to the touch, reinstall only the parts you removed. Put in batteries only if they are safe to use, and check the cord again. Then power it on while you watch and listen for normal startup only. If the item heats unusually fast, flickers, smells hot, or behaves erratically, turn it off right away and stop using it.
A good first test looks normal. The device powers up normally, responds as expected, and shows no fresh odor, heat, or crackling.
When to stop cleaning and get help or discard it
- Stop cleaning if the item shows signs that need repair, not just a wipe-down.
Do not keep cleaning if you find swelling, liquid inside the case, corrosion that has eaten into contacts, a frayed or brittle cord, scorch marks, sparks, or a persistent burn smell.
If the cord is damaged, replace it only with the correct part for that model or have a qualified repair shop handle it. If the battery is swollen or leaking, follow local battery disposal rules and do not puncture, squeeze, or throw it in regular trash unless your local disposal guidance explicitly allows that type of waste. If the item still shows heat, odor, or unstable behavior after drying, discard it or have it professionally checked instead of trying to rescue it with more cleaning.
Conclusion
If the item is clean, fully dry, and passes a careful first power-on without heat, odor, crackling, or odd behavior, it is ready for normal use or for listing with an honest description of any cosmetic wear. If it fails any of those checks, stop there and treat the problem as repair, disposal, or professional inspection.
Frequently Asked Questions
Can I use rubbing alcohol on thrifted electronics?
Often, yes, but only in small amounts on a cloth or swab, not sprayed directly on the device. It works well on many hard plastics and for sticky residue, but it can haze some finishes and damage delicate coatings. Test a hidden spot first if you are unsure.
How long should I wait before plugging it in after cleaning?
Wait until the item is completely dry, including seams, ports, vents, battery areas, and any place liquid could have wicked inward. The safe wait time depends on the device and how much moisture it saw. If you are unsure, give it more drying time rather than less.
Is it safe to clean a thrifted remote with water?
A lightly damp cloth is usually safer than a wet one, but the remote itself should never be soaked. Wipe the outside gently, keep liquid away from button gaps and the battery compartment, and dry it right away so moisture does not collect inside.